October 23, 2026 · HearzenLab
How to Assemble a Wooden Lantern Kit: A Beginner Guide
New to wooden model kits? Eight simple tips for building your first wooden lantern, from setting up your workspace to finding the perfect spot for it.
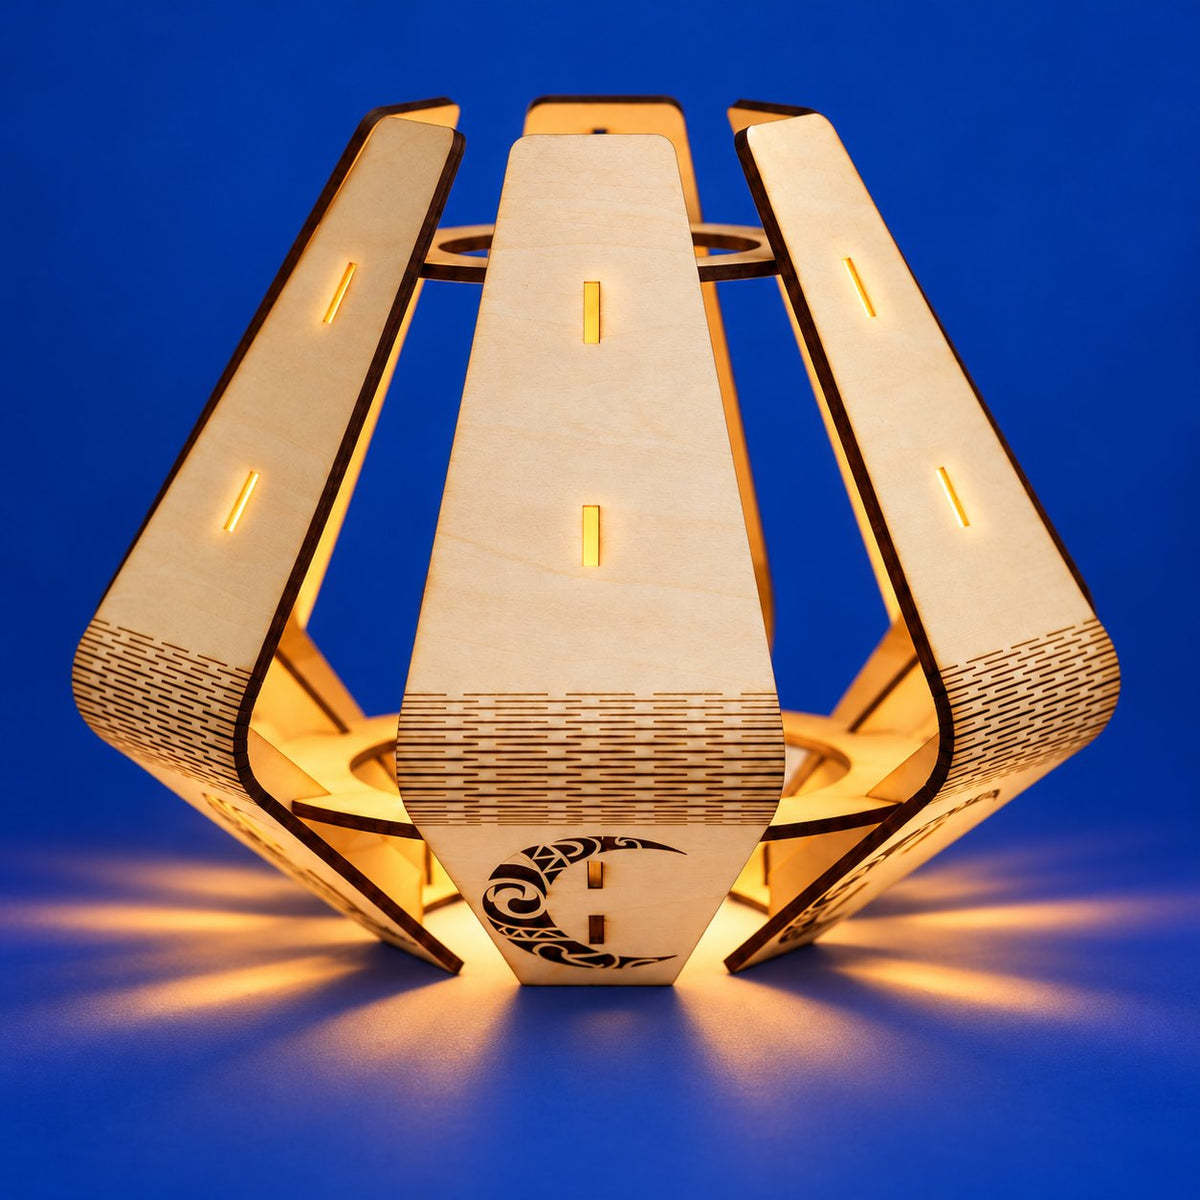
Never built a wooden model before? A lantern kit is a great place to start. The pieces are laser-cut, the shapes are easy to read, and the reward is a warm, glowing piece for your home. These eight tips will help your first build go smoothly.
Before you start
Get ready
Set up a calm workspace
Choose a clean, flat table with good light. A tray or a shallow box keeps small pieces from rolling away. Put on a podcast or some music: there is no need to rush.
Read the instructions first
Look through the whole instruction sheet once before removing any pieces, so you can see which panels form the base and which parts make the roof.

While you build
Take it step by step
Remove pieces only when you need them
Laser-cut sheets keep the pieces organized. Press each piece out gently as you reach its step. If a piece feels stuck, work around its edges slowly rather than forcing it.
Dry-fit first, then press
Line up the tabs with their slots and check the fit before pressing a joint fully home. If something will not go in, check that the piece is facing the right way: most problems come from a panel that is flipped or swapped with a similar one.

Build the frame square
The base and side panels set the shape for everything above them. Make sure the corners sit square before moving on to the roof. A crooked base becomes very noticeable once the light is on.
Take breaks
It is completely fine to finish your lantern over two or three evenings. Leave the build on its tray, and it will be waiting for you.
When it is finished
Light it and enjoy it
Light it safely
Use only the light source recommended in your kit's instructions, and check the product page for power details. Place the lantern on a stable, dry surface away from water and heat.
Find the right spot
Lanterns look their best at eye level or a little below: a side table, a console, a bedside table or a shelf in a reading nook. In the evening, the cutouts cast patterns of light onto nearby walls.

Ready to build?
Lanterns to start with
 Wooden Pagoda Lantern
 Slatted Glow Lantern
 Pagoda Scene Lantern
 Celtic Knot Lantern
 Tall Geometric Lantern
 Faceted Lantern
Find the lantern that fits your space.
Browse all lanterns